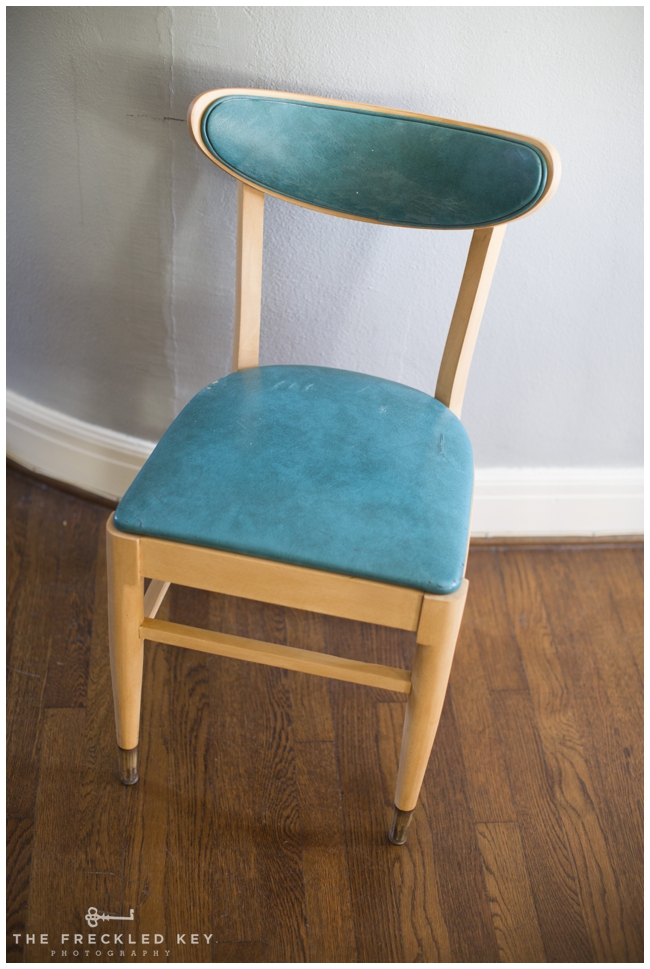
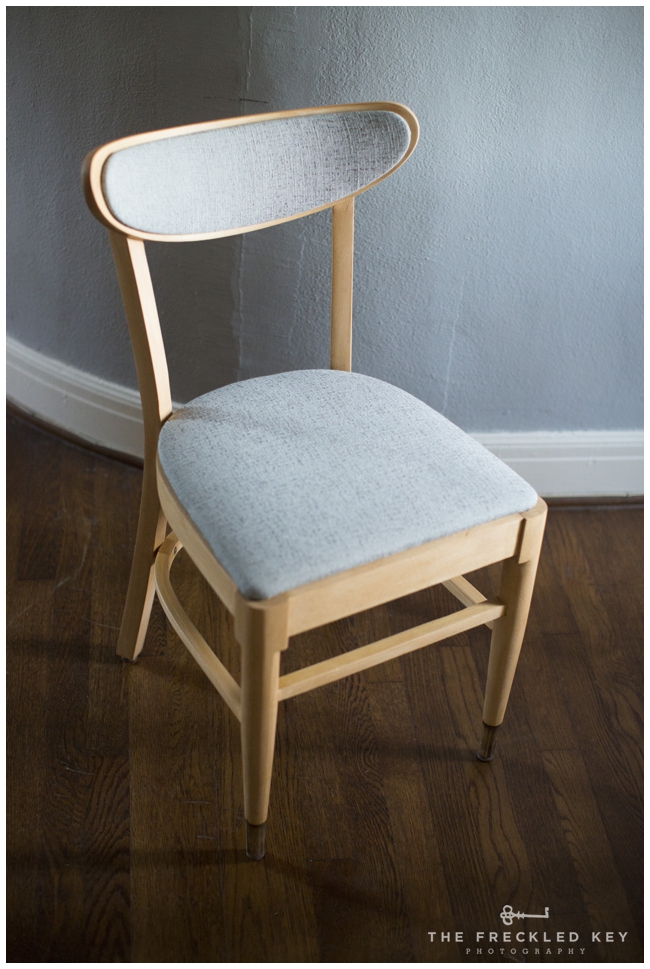
Once upon a time, Scott and I saved up money for almost four years and bought a dining room table, our first major purchase as a married couple. We love this dining room table, and quickly began looking for some Danish Modern dining chairs to compliment the table’s sleek lines and simple silhouette. We searched high and low, but all we could find that we liked ranged anywhere from $200 to $600 A PIECE. Needing six chairs and not wanting to wait another four years to get them, we put my mother on the hunt. You see, my mother is a bargain finder extraordinaire. There is a gene for bargain finding, of this I am sure, and I did not inherit it. That or my momma just has a tremendous amount of patience for digging and digging (and digging and digging) that I do not have – which is more likely the case.
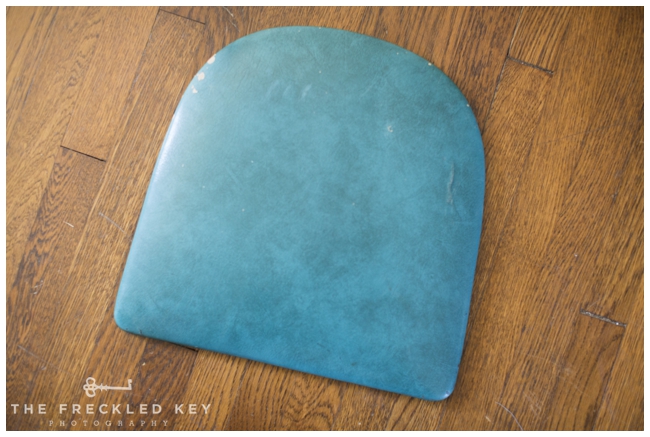
Either way! She found us a beautiful set of Danish Modern dining chairs, Made in Poland, for $25 A PIECE. What??!! And they are in near perfect shape! The upholstery is pretty hideous – turquoise vinyl… meh. So after a good sanding (completed by my amazing husband, The Unfreckled Key) and staining, we were ready to pop some fresh fabric on these suckers!
My mom, dad, and grandmother came into Houston to visit us this past weekend and my mom and dad showed us how it’s done – and now I would like to show you how it’s done, because it’s not too difficult. You just need the following to reupholster a dining room chair:

New fabric, a staple gun with sharp staples, a hammer…

…and muscle. Aren’t you intimidated by my scrawny enormous biceps??
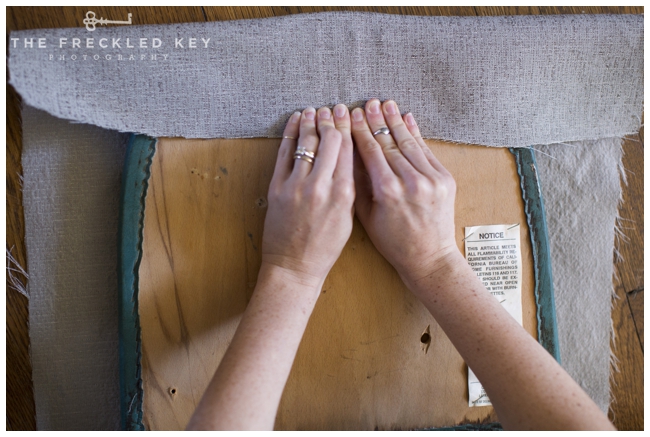
First things first – remove the seat from the chair. Unfold your fabric and cut a swatch, cutting such that there is about a 5″ border extending beyond the perimeter of the seat.

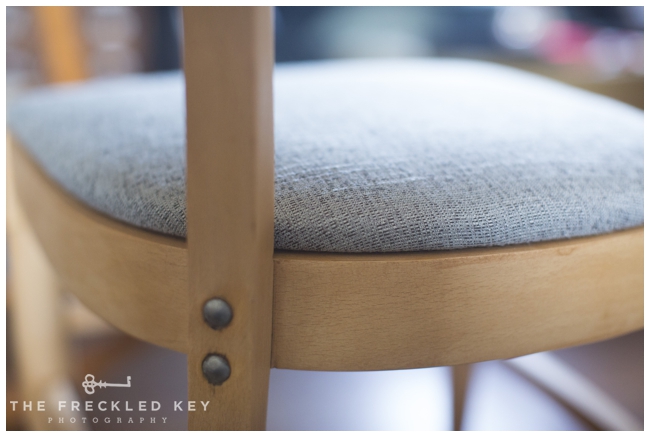
With the top of the seat cushion facing the wrong side of the fabric, pull the fabric around to the back of the seat and pop in an anchor staple. Repeat on the bottom and on each side of the seat such that you have 4 anchor staples. Staple the fabric roughly 1″ from the edge of the seat.
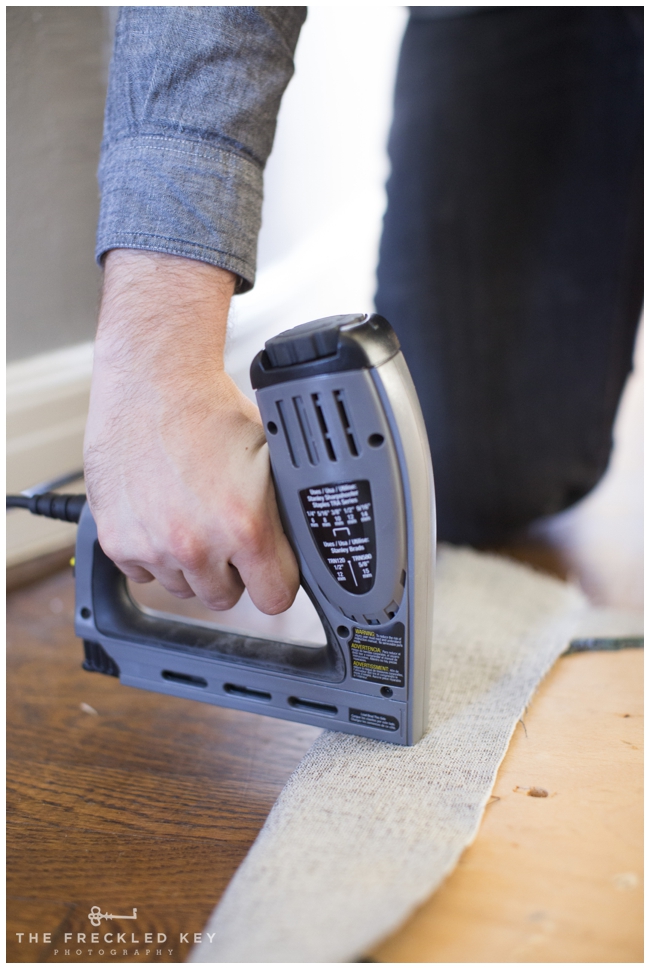
And now for the muscle. Beginning from the top edge, work your way around the seat, pulling the fabric tightly around to the back of the seat, smoothing the surface as you go, and hold while you staple the fabric down in the back. You want your staples to be placed so that they are practically touching, as if you were “sewing” the fabric to the back of the seat with a sewing machine.
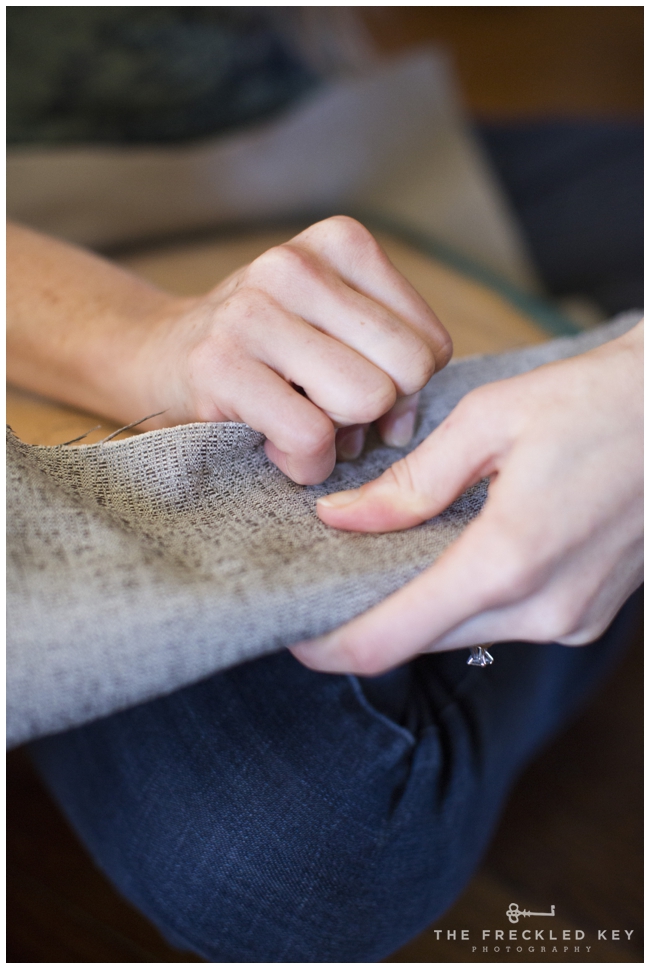
When you get close to the corner, gather the fabric around the corner in the back, creating small pleats. Again, pull tight and smooth the fabric around the corner then secure with staples.

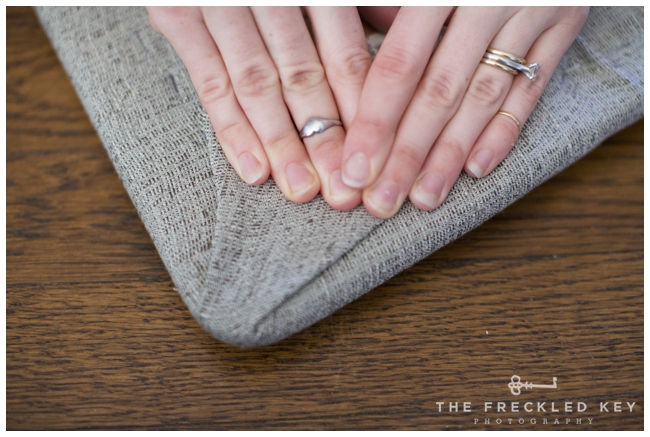
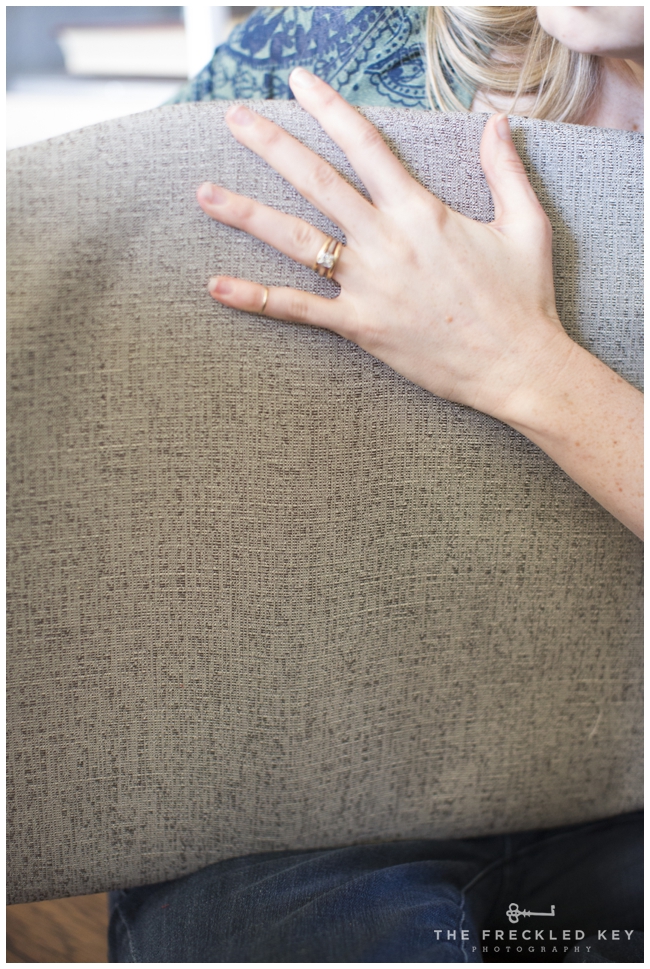
Flip the seat to the opposite side that you started from (if you started on the top, go to the bottom – if you started on the left, go to the right) and continue pulling tight and stapling. You want to work on opposite sides so that you counter-act the pulling from the previous side to keep the fabric pattern nice and even. Make sure to smooth as you go and keep any lines in the fabric pattern straight. Scott and I chose a fabric that did not have a pattern, so we did not have to worry about distorting the pattern when we pulled tight on the fabric. If you choose a fabric with a lined pattern, you will have to be much more careful about pulling and smoothing the fabric so as not to make the lines crooked.
Take a pair of sharp fabric scissors and trim the excess fabric.

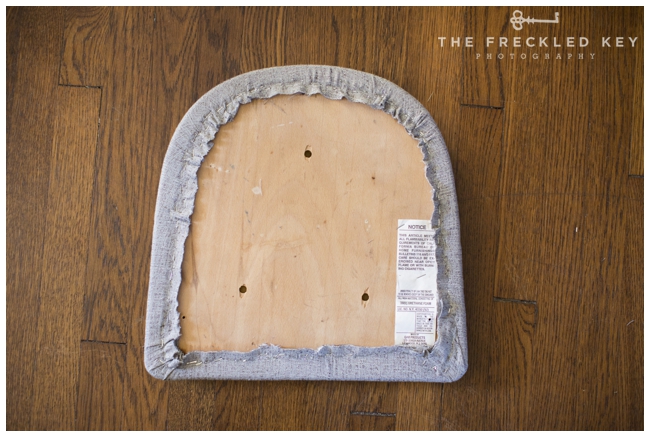

TADA!
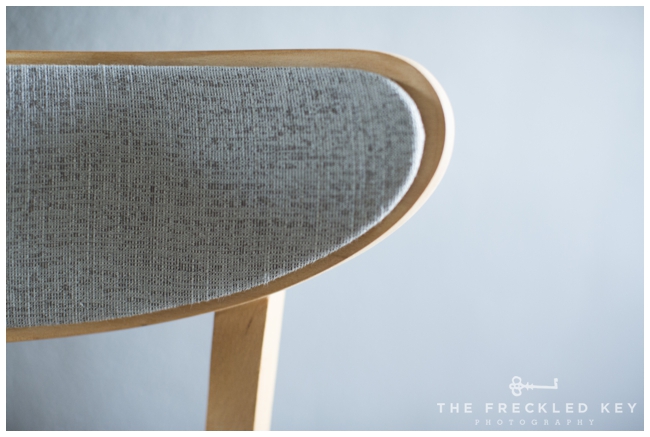
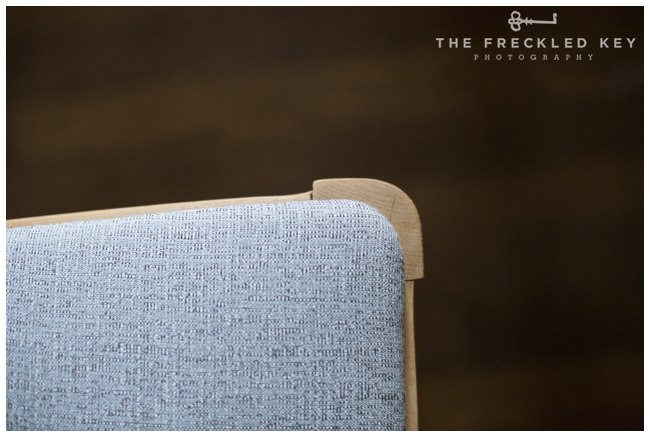
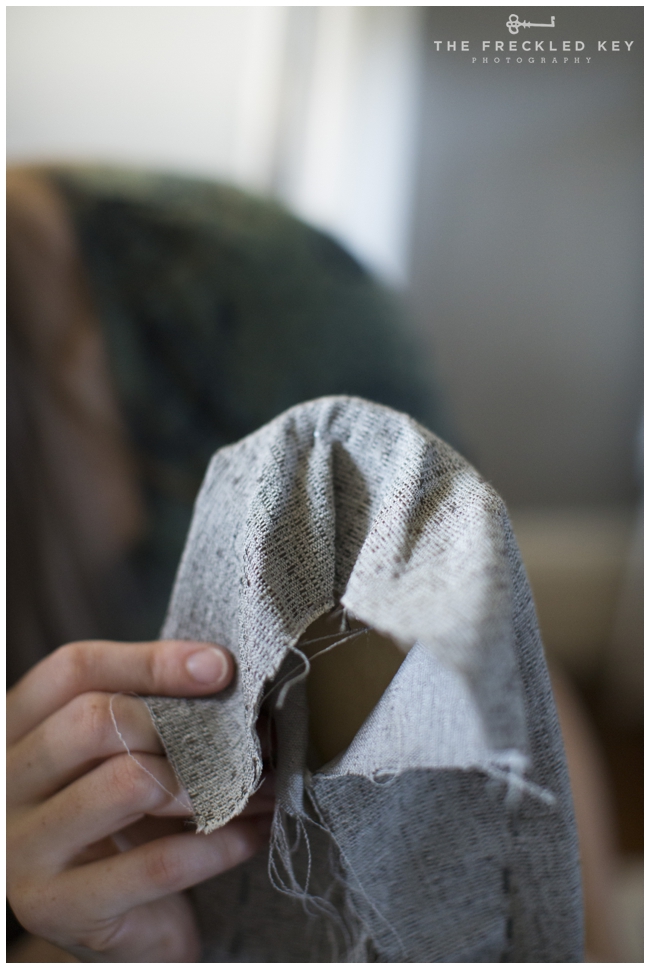
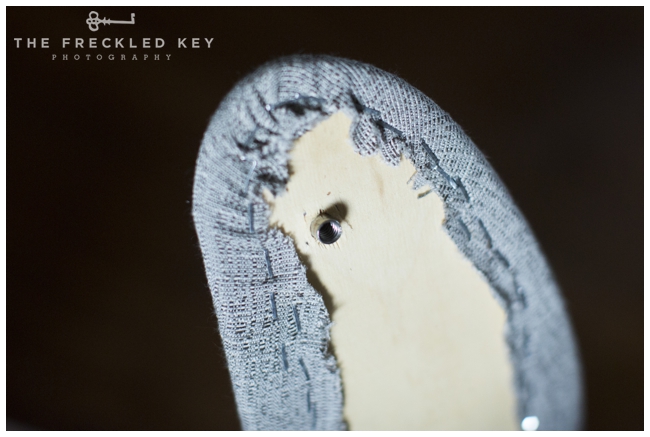
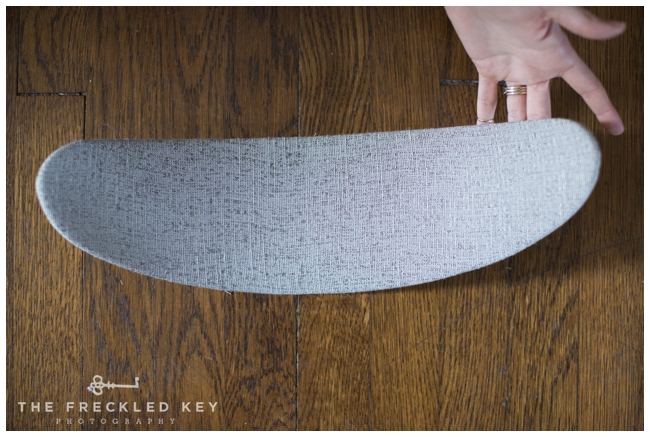
Our chairs also had a back board with fabric, so we covered that up, too, using the same method described above!


Reattach the seat when complete, then plop down in your new chair with a glass of ice tea. And give yourself a pat on the back.
Big thanks to my hubby for taking all of the pictures for this post (he so talented) and for acting as my stapler man!
Tug and staple,
HK
Hannah! these are so lovely!