NOTE: The “skill level” for this post is somewhere around intermediate. You should have a general knowledge of photographic technical terms such as “ISO”, “aperture”, “shutter speed”, and “metering” to get the most out of this article 🙂
Okay! Let’s begin! As a natural light photographer, photographing people in full sun came with quite a learning curve. I learned very quickly that placing my subjects facing the sun was a no-go; squinty eyes don’t look good on anyone! So, I started practicing back-lighting my subjects, or placing them with the sun behind them.
The challenge with shooting backlit (if you don’t want to end up with a silhouette) is that your in-camera light meter will pick up on the brightness of the sky and the surrounding atmosphere and indicate to you a “correct” exposure accordingly. So what? Well, since the “correct” exposure was determined by the brightness of the sun, which is behind the subject instead of actually lighting the subject, if I set my exposure based on my in-camera metering of the sky my subjects will end up being very underexposed because they are not as bright as the sun. So… what to do?
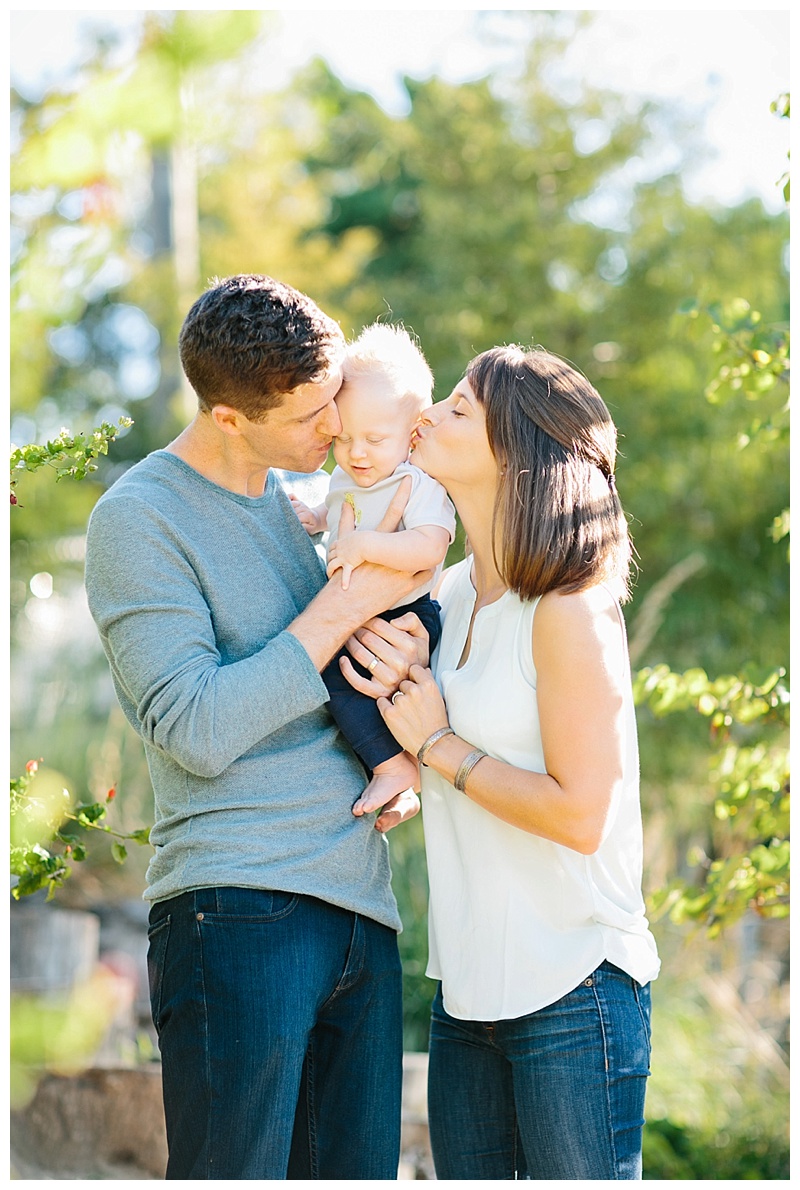
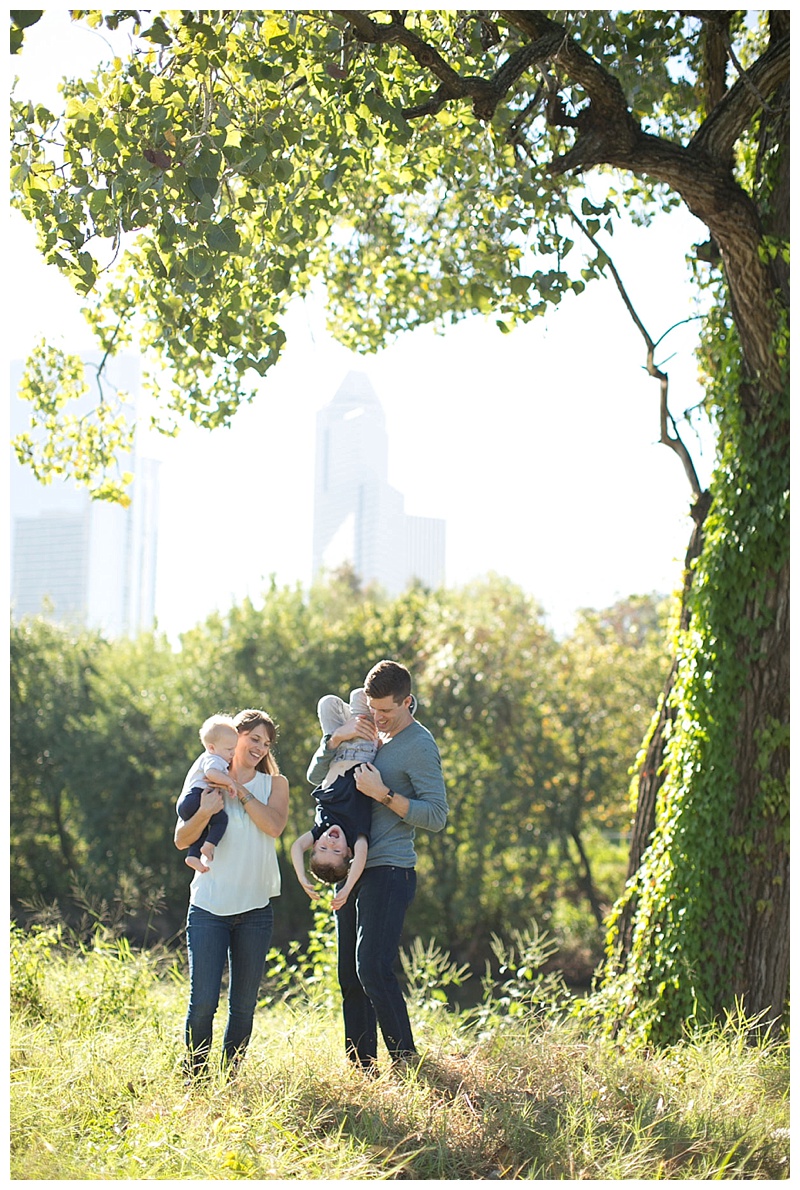
First, I start by finding a location to place my subjects in which there is a natural reflector, or something that will act to bounce the sun’s light back into my subject. Natural reflectors can be the ground, a wall, a building, etc. Anything that will act to bounce the light from the sun behind my subject back into my subject. In the case of these photos, the ground was acting as my natural reflector: the sun was bouncing off either the warm-colored dirt (see photo below) back into my subjects, or off of the light grey sidewalk back into my subjects. 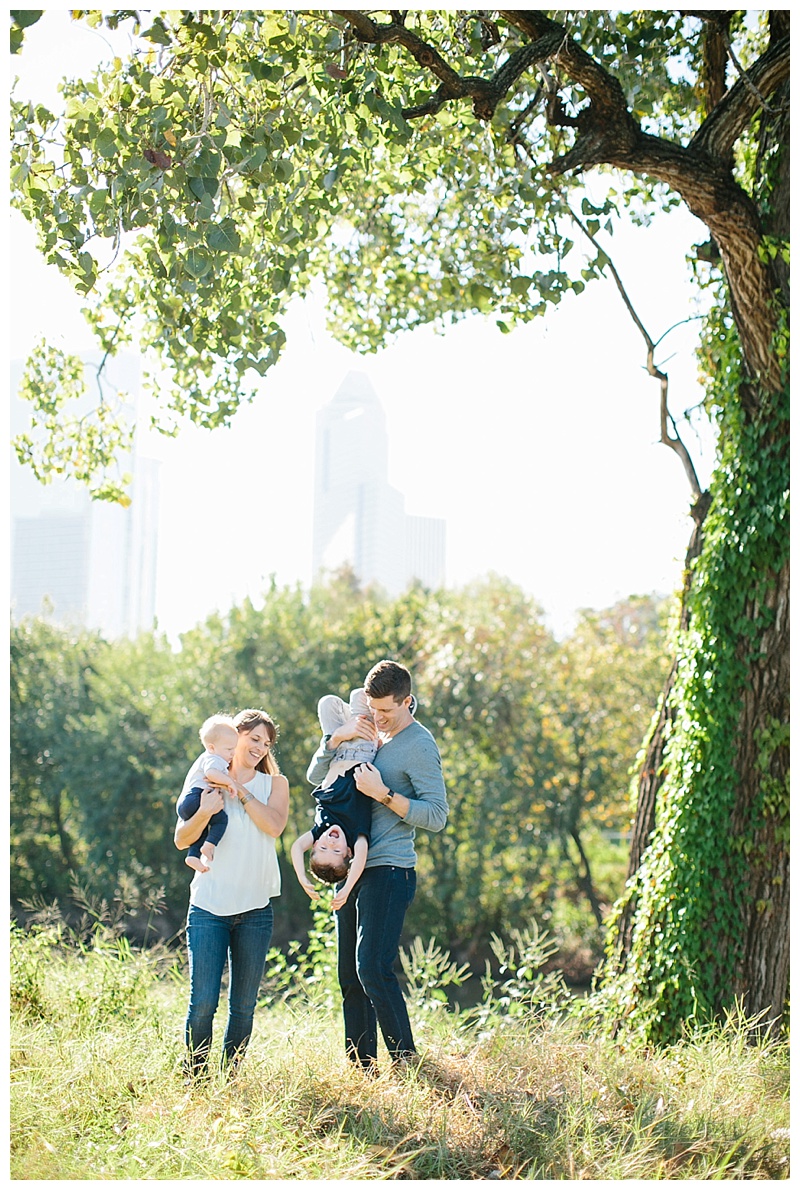
Second, rather than metering to the sky, which will result in my subjects being considerably under exposed, I will either walk close to my subject and meter near their face OR I will meter to something close to where I am standing that looks to be in about the same intensity of lighting as my subject (most of the time I will just look near my feet and meter to a portion of the ground that is in shadow – that will get me pretty close).
Third, I take a few test shots and adjust either my ISO or my shutter speed (I determine my aperture first – usually pretty WIDE OPEN because I loooooove bokeh!) until my subjects look to be correctly exposed as determined by the preview on the back of my camera.
Okay! Let’s take a look at some before and afters for post-processing! I will type out my camera settings below each photo. For editing, I use Lightroom with a VSCO preset that I then go in and fine-tune (if needed). I really try to get a near-perfect shot straight out of camera and use Lightroom as a way to enhance rather than significantly alter my photos 🙂
BEFORE: 35mm lens, ISO 160, Aperture f/2.0, Shutter Speed 1/1000
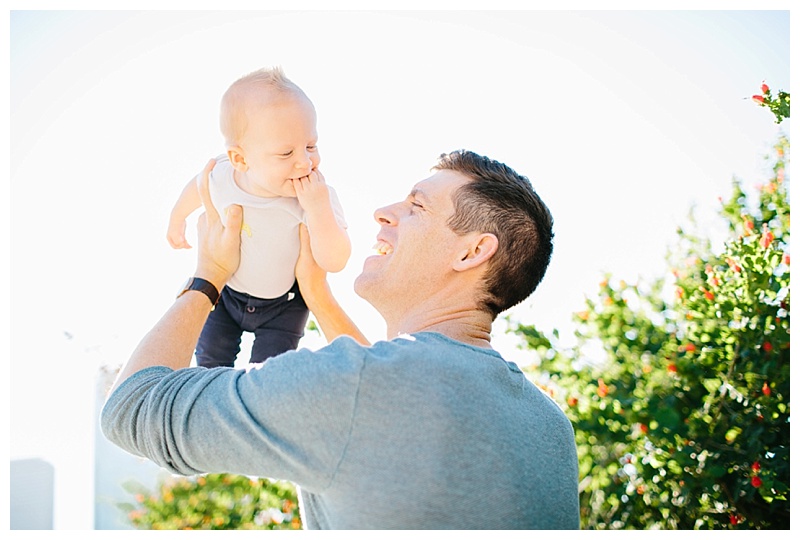
AFTER: Applied VSCO Film Preset, removed grain, fine-tuned the highlights
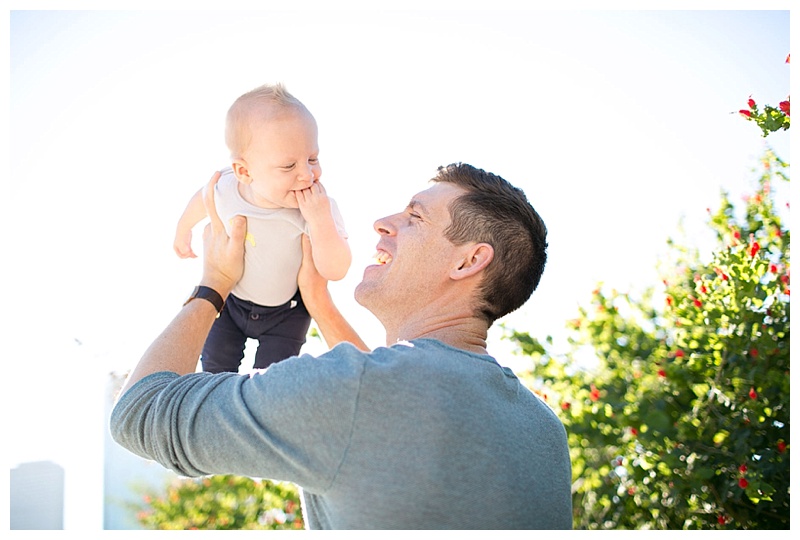
BEFORE: 85mm lens, ISO 160, Aperture f/2.0, Shutter Speed 1/640
AFTER: Applied VSCO Film Preset, removed grain, adjusted exposure by -0.10, fine-tuned highlights and blacks
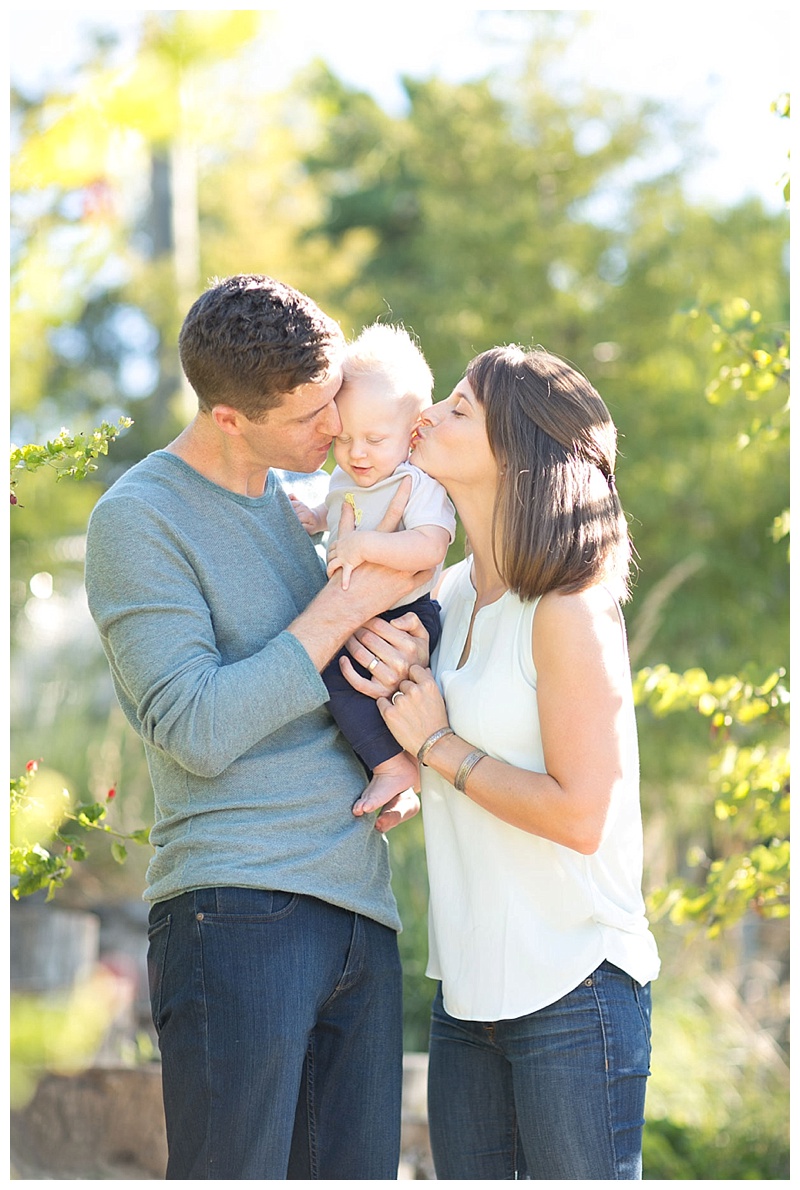
BEFORE: 50mm lens, ISO 160, Aperture f/2.0, Shutter Speed 1/1600
AFTER: Applied VSCO Film Preset, removed grain, adjusted exposure by +0.30, fine-tuned shadows and blacks
Photographing people in full sun is a beautiful challenge. Lately I’ve been exploring using full sun to create really harsh shadows and highlights – basically the opposite of what I talked about in this post, ha! Another blog to come, I suppose…. 😉
For more information on the use of natural reflectors, I highly recommend checking out this post by Jasmine Star.
Please leave any questions in the comments and I will do my best to answer!
Rim light and reflect,
HK

Beautiful location and great subjects!