I am so excited to start a new “column”, if you will, on our blog – The Freckled Key Nerds Out! One of my many New Year’s resolutions this year was to write more photography-related posts, verses just post images from sessions with our clients. Now, I will preface this by saying that I have only been a professional photographer for a few years, so anything I post here is coming purely from my own professional experience, readings, research, and a lot of trial and error. So, do not take my word as gold, please. I only wish to share some things that I have learned, and hopefully start some great conversations!
After posting on our Facebook page about this new column, seeking topics that you all were interested in reading about, I received a few bits of feedback, and one item that kept coming up was lighting. Well, being that the word “photography” literally means “drawing with light”, handling lighting in one post is just not possible. So, I decided to start small and hope to build on this vast topic that is lighting over the course of several future posts!
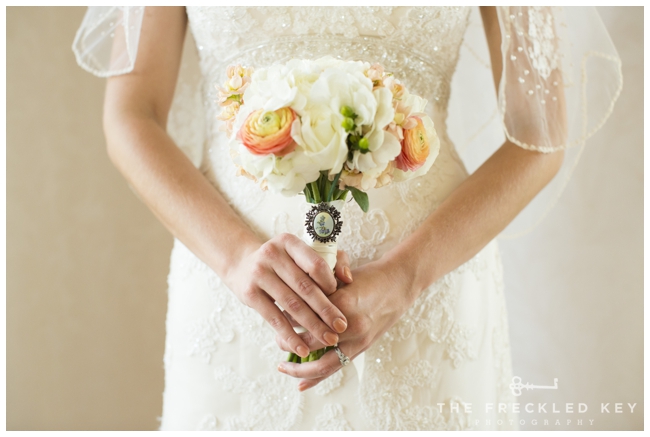
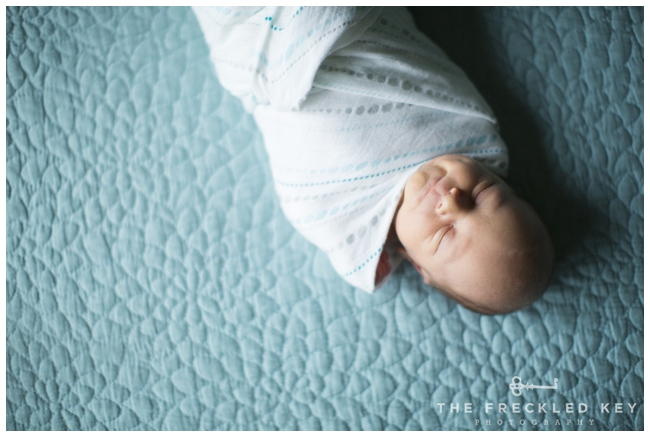
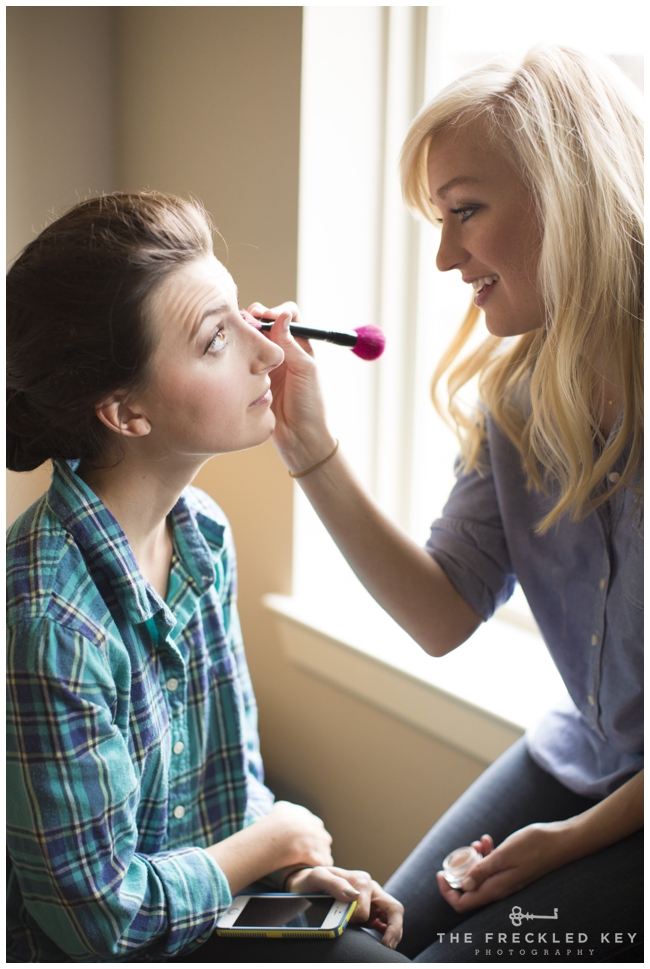
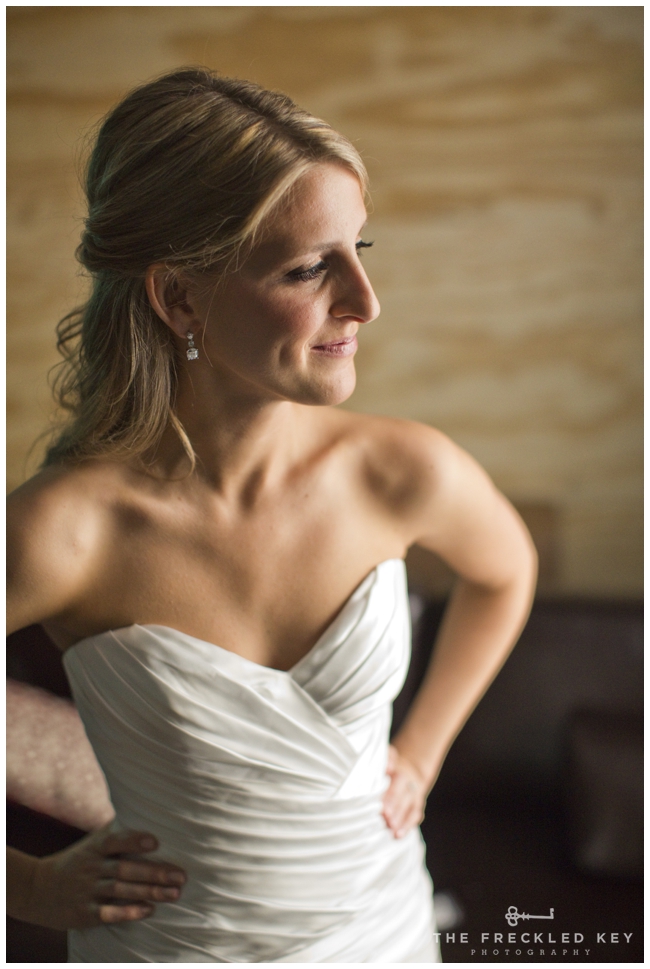
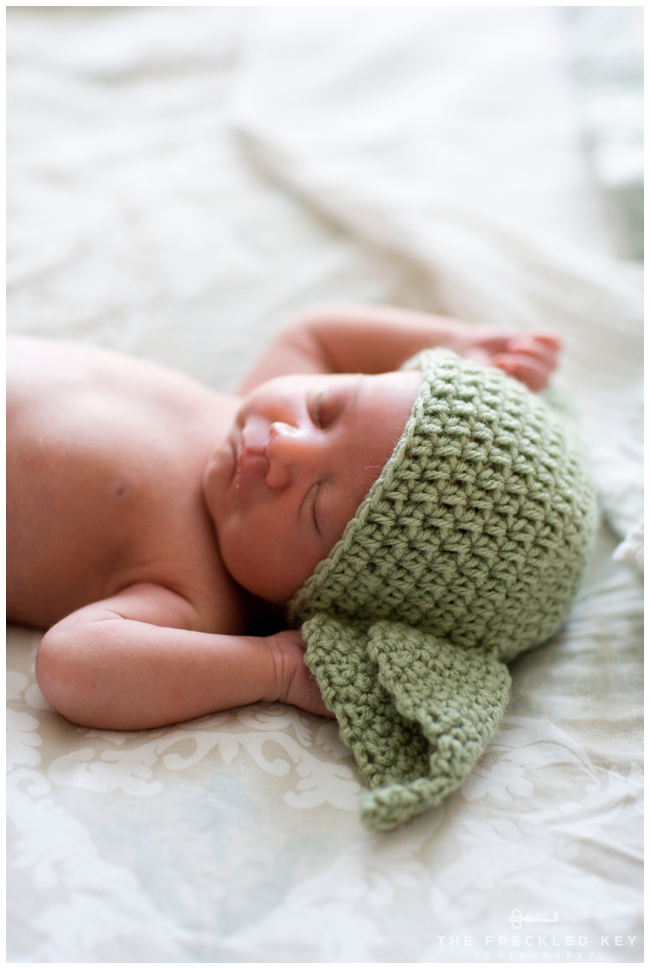
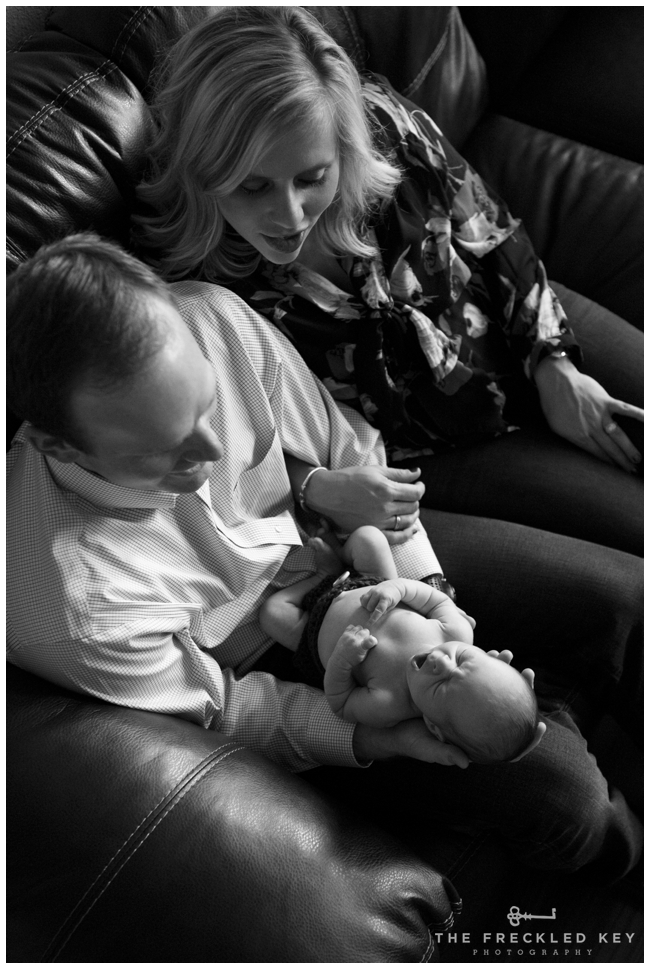
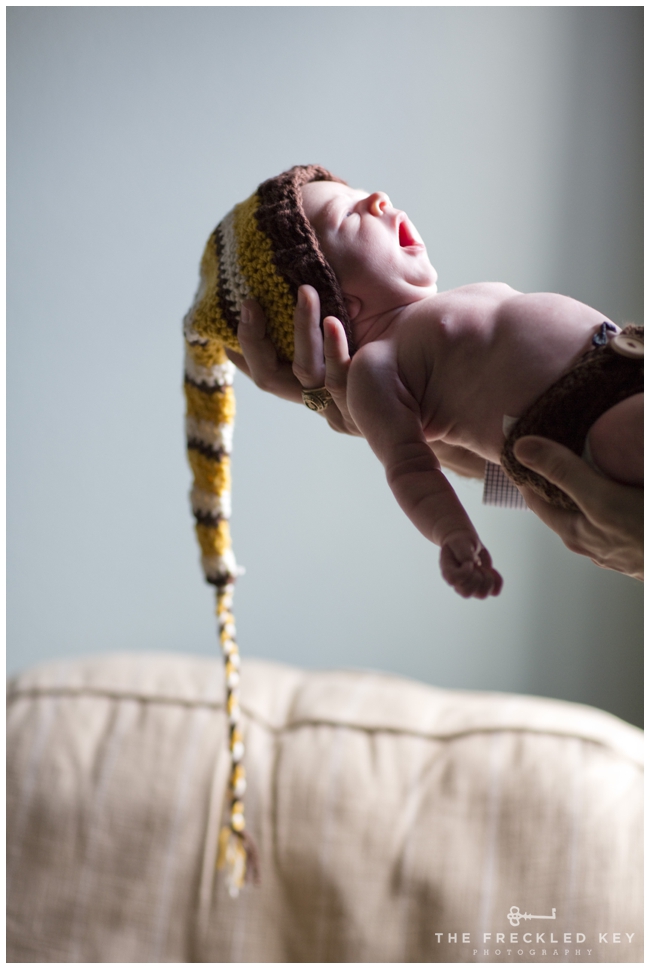
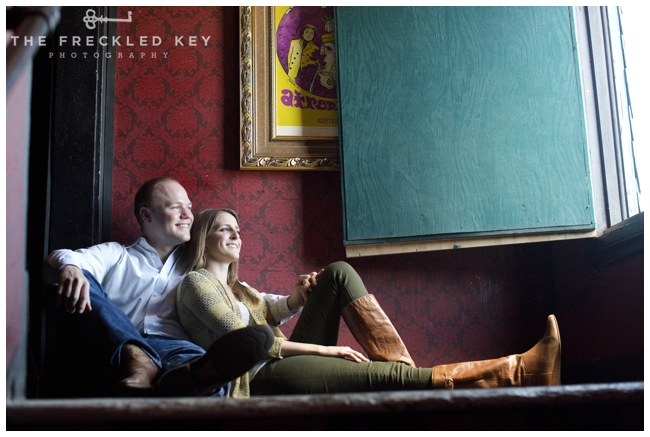
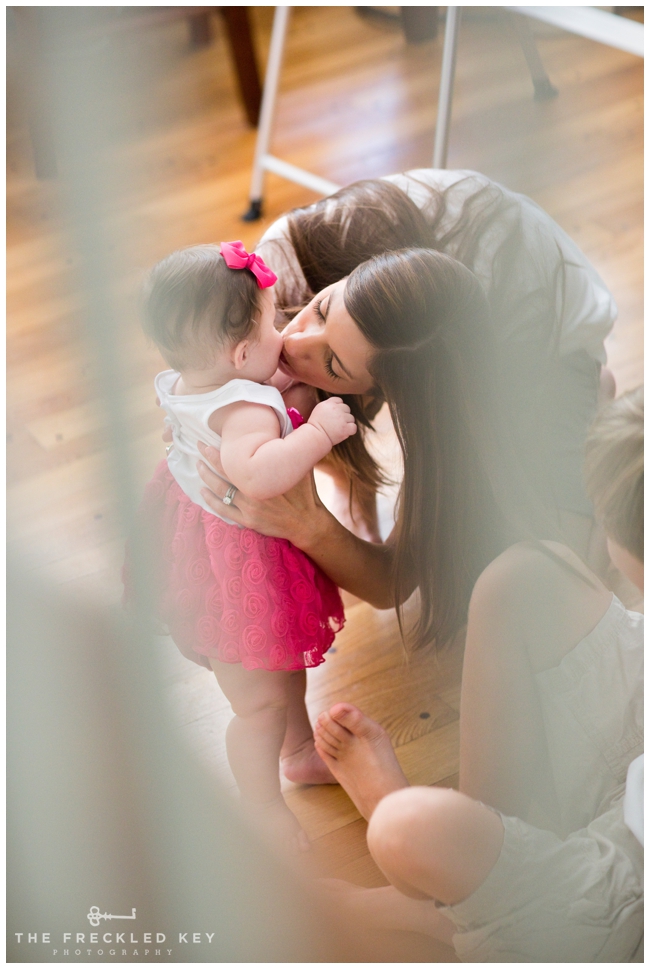
To start this post… I L.O.V.E. natural light and use it as much as I possibly can. There is a time and a place for flash photography, and I have grown to love flash photography for what it has to offer, but if I had my pick, every time Natural Light would win! Natural Light, when used properly, is soft, lovely light that makes skin glow and eyes sparkle… it’s just delicious! However, taking a great photo indoors can be tricky, so I want to discuss Natural Light in the context of indoor photography. And to begin, here are some images that Scott and I have taken indoors using Natural Light:
If you glean only ONE thing from this post, and ONE thing only, when shooting indoors, BE A MOTH. FIND THE LIGHT. And not the Artificial Light that comes from lamps, ceiling fans, recessed can lights, and light fixtures. You want to find good, beautiful, Natural Light that can only be given from Mother Nature herself.
So, Rule #1 of indoor photography: Turn off all artificial lighting. As tempting as it may be to “add” light by using a lamp or a light fixture, don’t do it! Turn them all off and instead, carry out Rule #2: Find a room or a space with windows (or a window), pull back those curtains (all the way!) and raise those blinds (all the way!). Ahhh…… now isn’t that nice? Just following these two simple rules has already set you up for some great indoor shots!
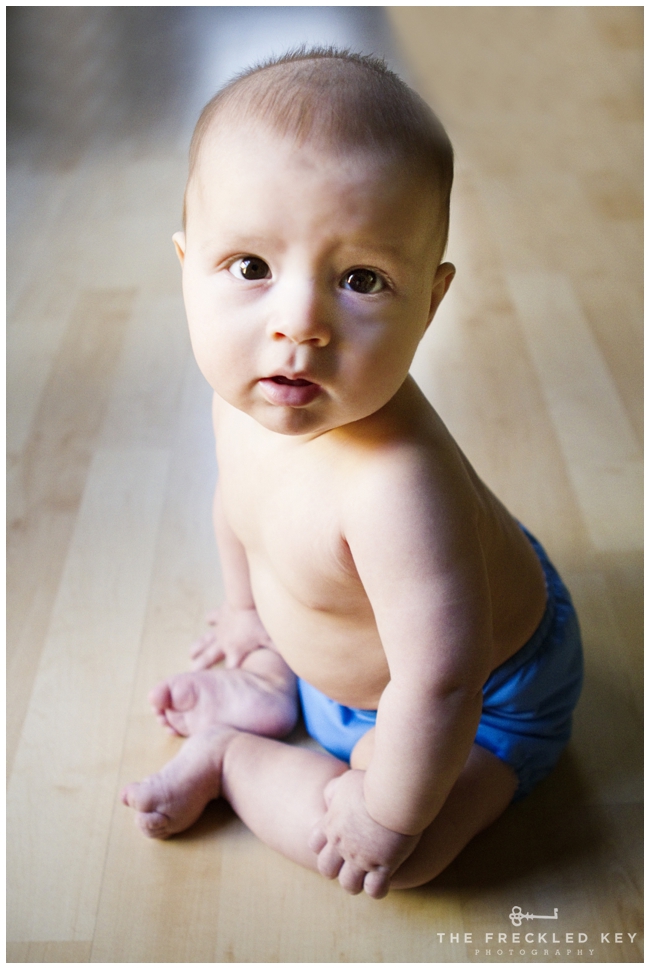
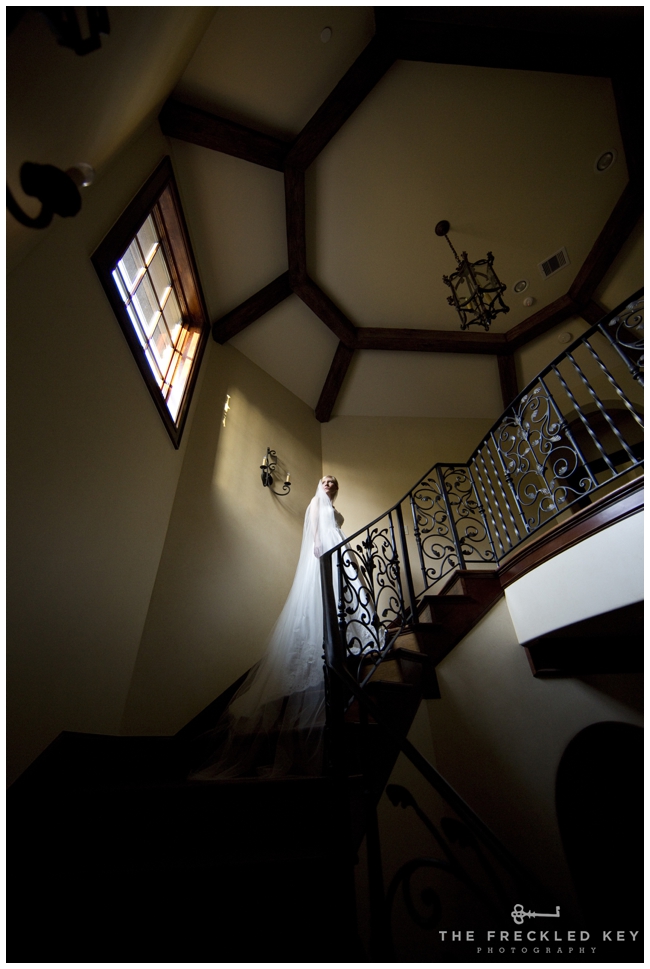
And now for composing an indoor shot. If you are photographing a child, you are a bit at the mercy of wherever they want to be and whatever they want to do – but again, you’ve already followed Rules 1 & 2, so your shots are already going to be better! But, if you have a bit more control over your subject, like the baby boys (too young to be too mobile!) and the bride pictured above, you will want to follow Rule #3: Position your subject at about a 45 to 60 degree angle to the window to put sidelight on your subjects. Why use Sidelight? It gives your image some dimension by creating nice highlights and shadows on your subject, as compared to Frontlight, which gives your images a more flat, 2-dimensional quality, or compared to Backlight, which (unless you know how to handle backlight) will cause a silhouette or an underexposed subject.
This is my precious “nephew”, Ryder, at age 6 months old! As you can see in the image above, I have followed my 3 Rules of indoor photography: 1) I turned off all artificial lighting, 2) I found a window, pulled back the curtains, and opened the blinds, and 3) Although his body is facing the window, creating Frontlight on his torso and legs, I had his mom stand behind me to get his attention, which pulled his face into the awesome Sidelight that created the nice highlights and shadows on his face, as well as that lovely twinkle in his eye!
This is a stunning bride that we photographed last January for her bridal portrait session inside of a large home. I wanted to share this image to show that you don’t need a huge window or several windows to achieve lovely indoor portraits! Even a single window will do the trick – just follow the 3 Rules: 1) Turn off all artificial lights (notice that the chandelier above her and the recessed can lights are turned off), 2) Find a window, and 3) Turn your subject at an angle to the window to put Sidelight on your subject!
Now, it’s getting a bit too late in the day to try these tips at home now (5:00 p.m. and the sun is setting low), but I encourage you to get out your cameras tomorrow and practice these 3 Rules with your children, your spouse, or even your dog! If you can’t remember the 3 Rules, at least remember to BE A MOTH – FIND THE LIGHT (but not the Artificial Light)!
Moth and window,
HK




Fabulous. I totally understand and I’m not overloaded with technical terms. I love this. Thanks sweet girl.
I’m so glad you enjoyed the post, Debby! I look forward to doing more!!
Thank you so much for sharing your knowledge and experience . I love photographing my grandchildren in natural light…any success that I’ve had has been luck:) Your blog has given me information that I can understand and use… I can hardly wait for the sun to come up and for your next blog!!
Glad you enjoyed the post, Tracey!! I’m already cookin’ up my next topic!