Raise your hand if you take photos on your phone everyday…. and then you wonder why your phone photos don’t look quite like the phone photos you see online. You don’t need the latest and greatest smart phone to take print-worthy photos, I promise! I’ve used an iPhone 6s for the past 3 years and only recently upgraded to the iPhone 8 (which means that I STILL don’t have the newest features, like Portrait Mode). Taking great photos on your phone is a combination of composition, light, and carefully curating moments. And if you want to learn all about that, you don’t want to miss my phone photography guide, Capturing the Everyday With the Camera In Your Pocket.
But the last piece of phone photography is really important, too, and that’s EDITING. To really polish off a phone photo you must take a minute to edit the photo using a photo editing app on your phone. My personal favorite is VSCO, but there are a number of editing apps out there! Ask around, and then try out a couple until you find one that makes sense to you.

No matter which app you choose, there are some basic editing tips that will enhance your phone photos and improve their print quality. Let’s dive in!

Here is a photo I took on my phone, UNEDITED, straight out of my phone:
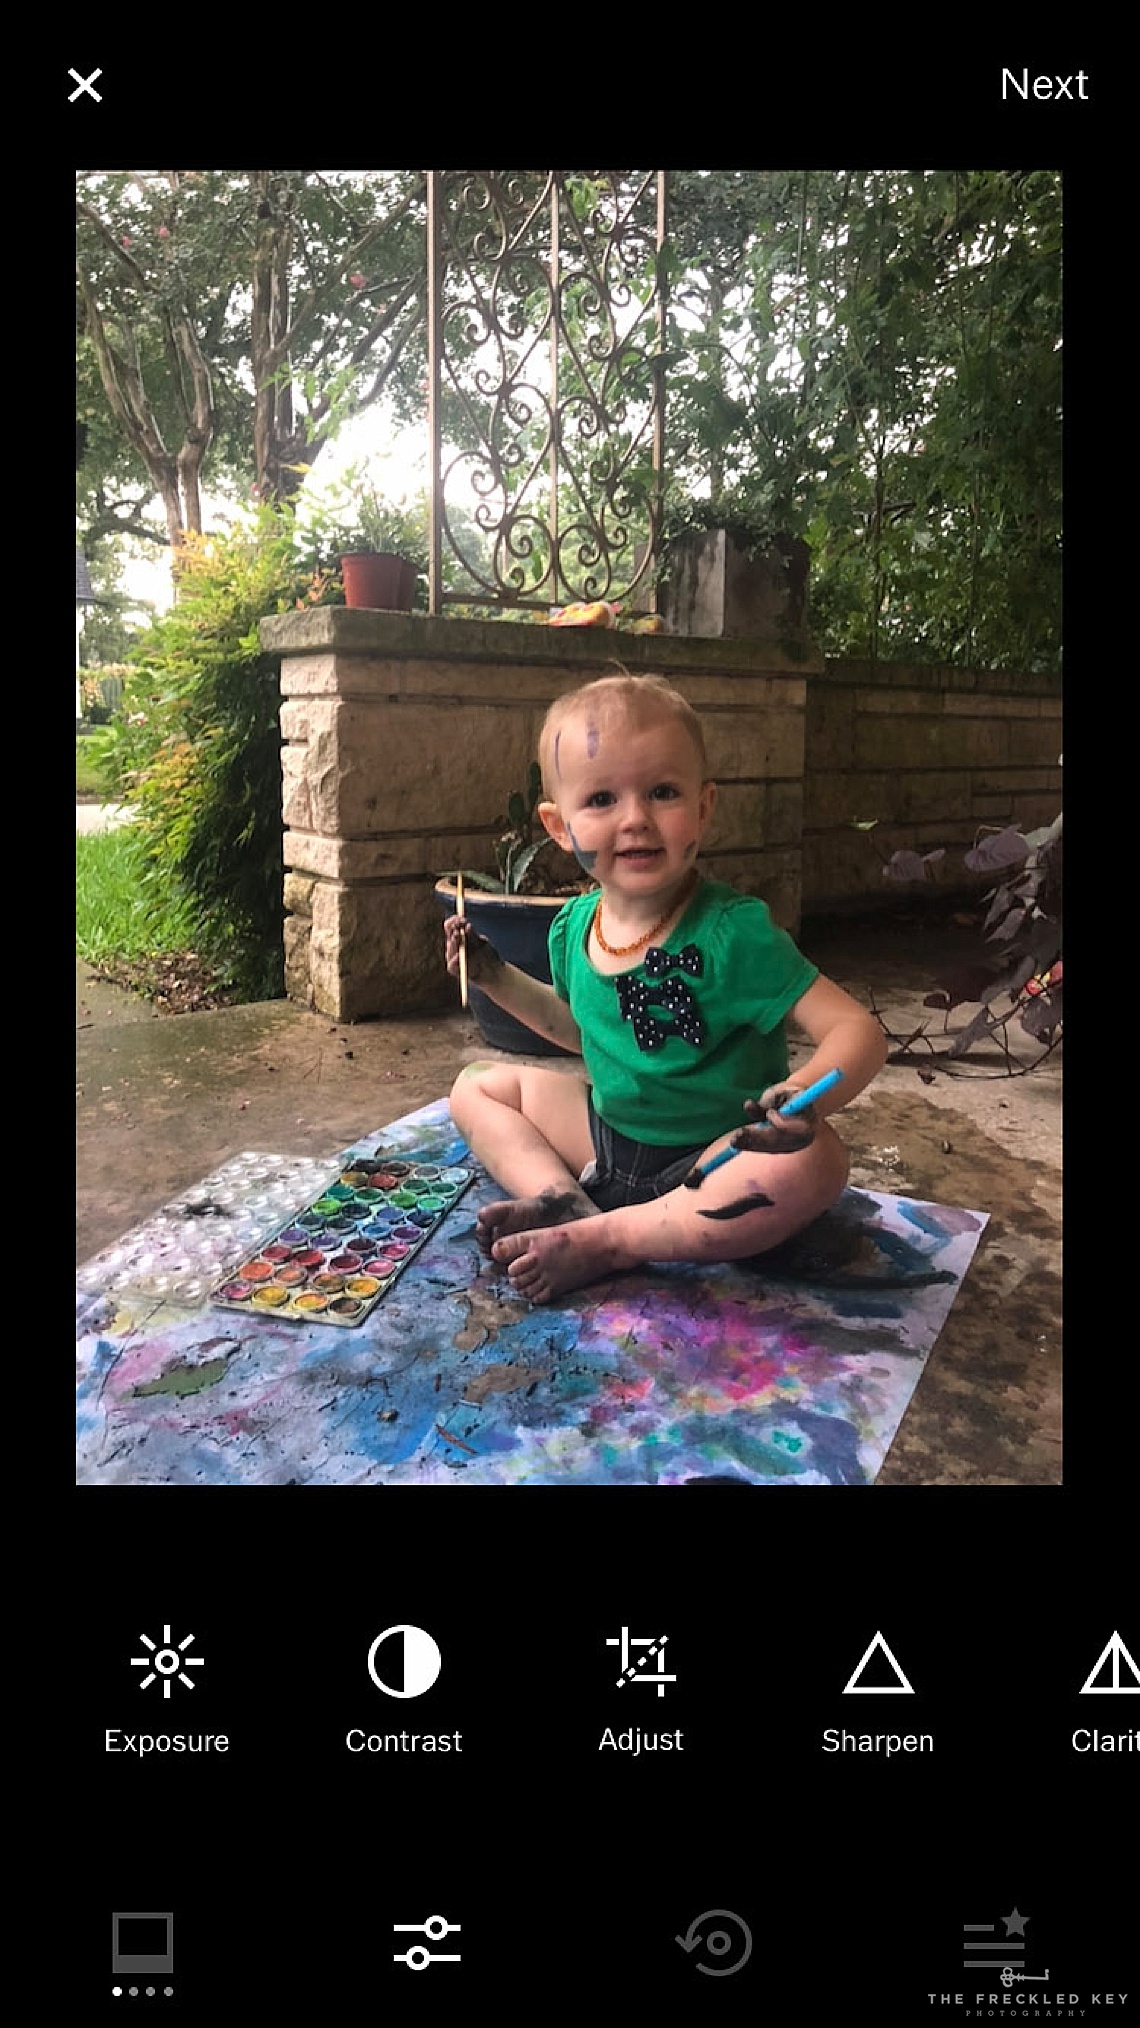
First, EXPOSURE
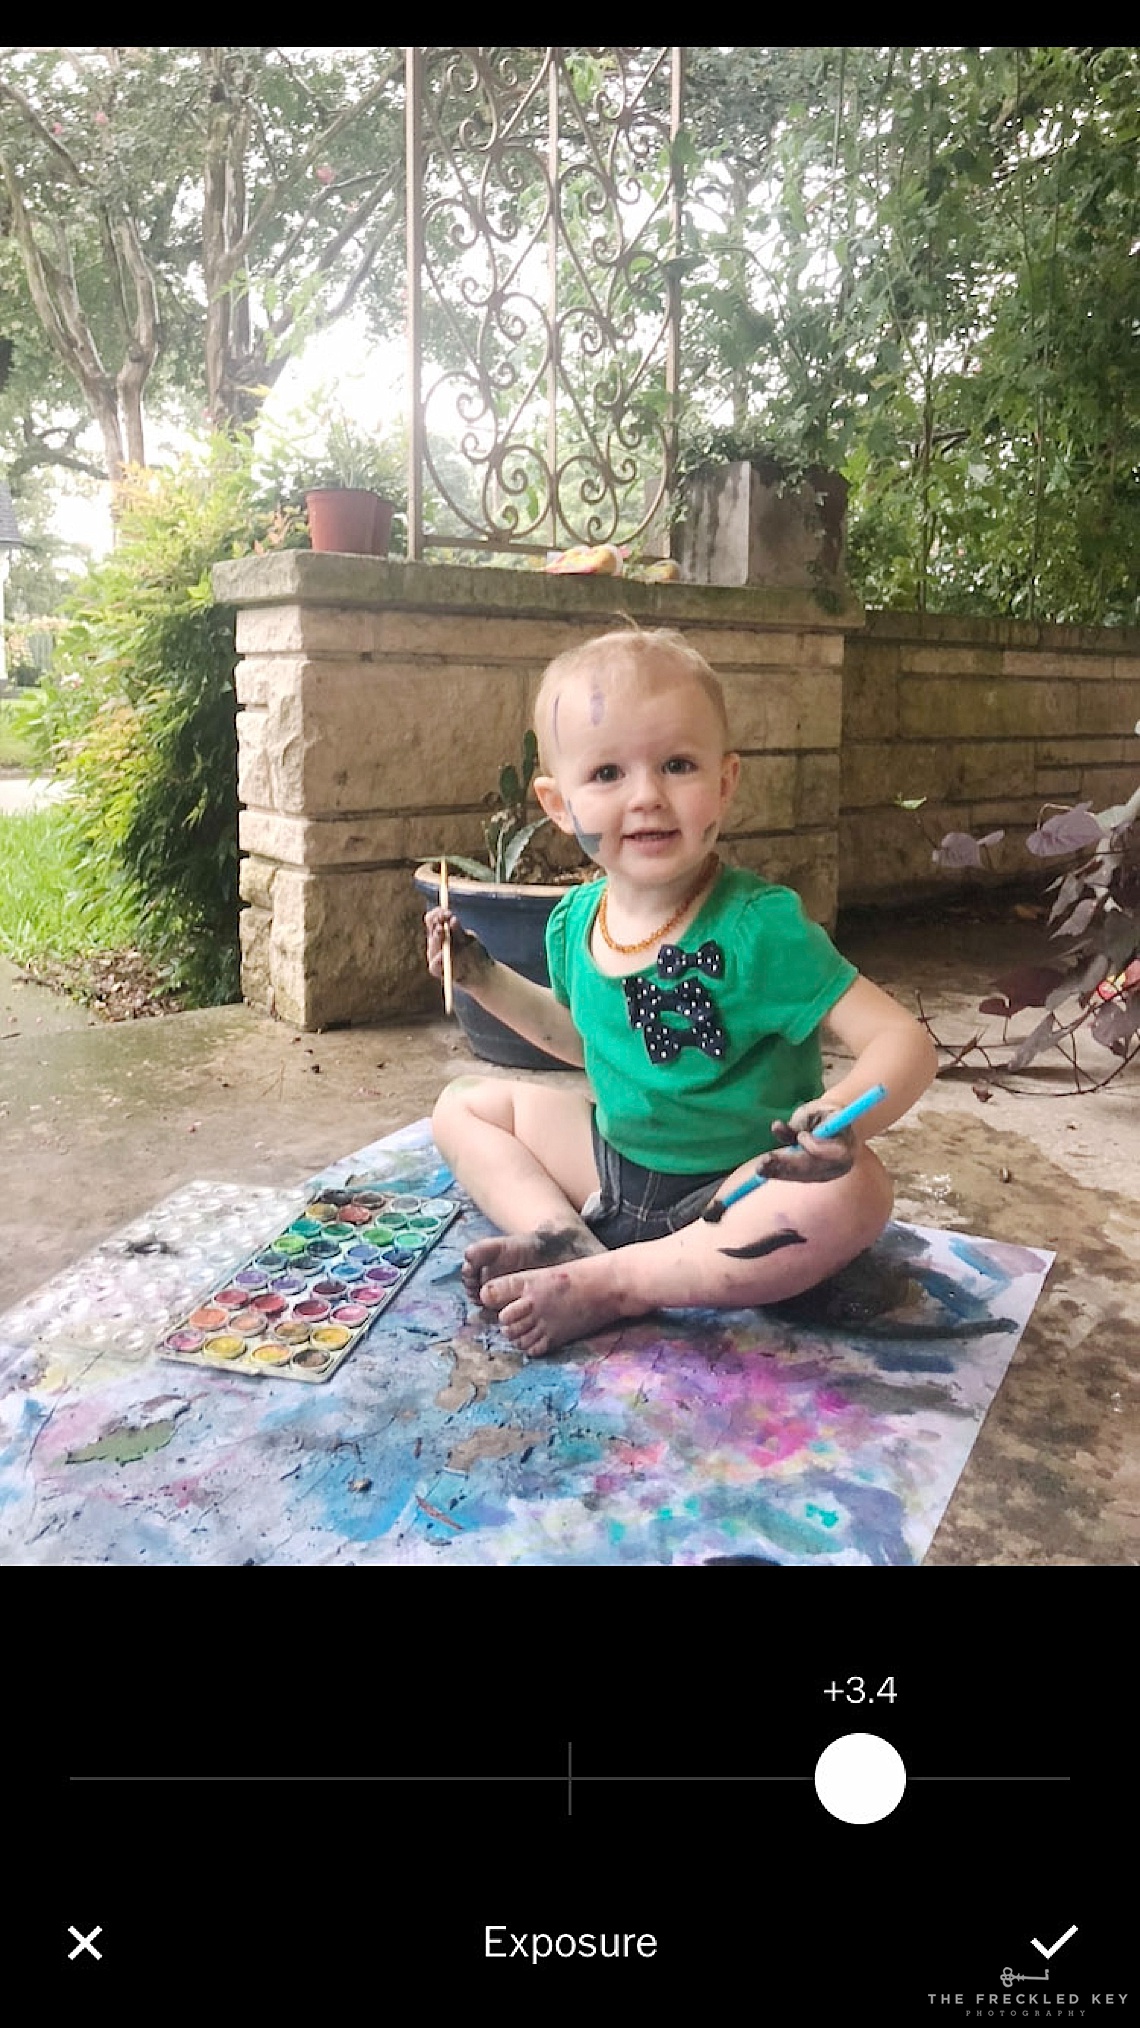
The first step I take when editing a phone photo is increasing the exposure, which will make the photo brighter and clearer. This is typically depicted as a sunshine icon in editing apps.
Second, CONTRAST

To really bring out the lights and darks in the photo be sure to increase the contrast. This is typically depicted as a half white, half black circle in editing apps.
Third, CROP & STRAIGHTEN
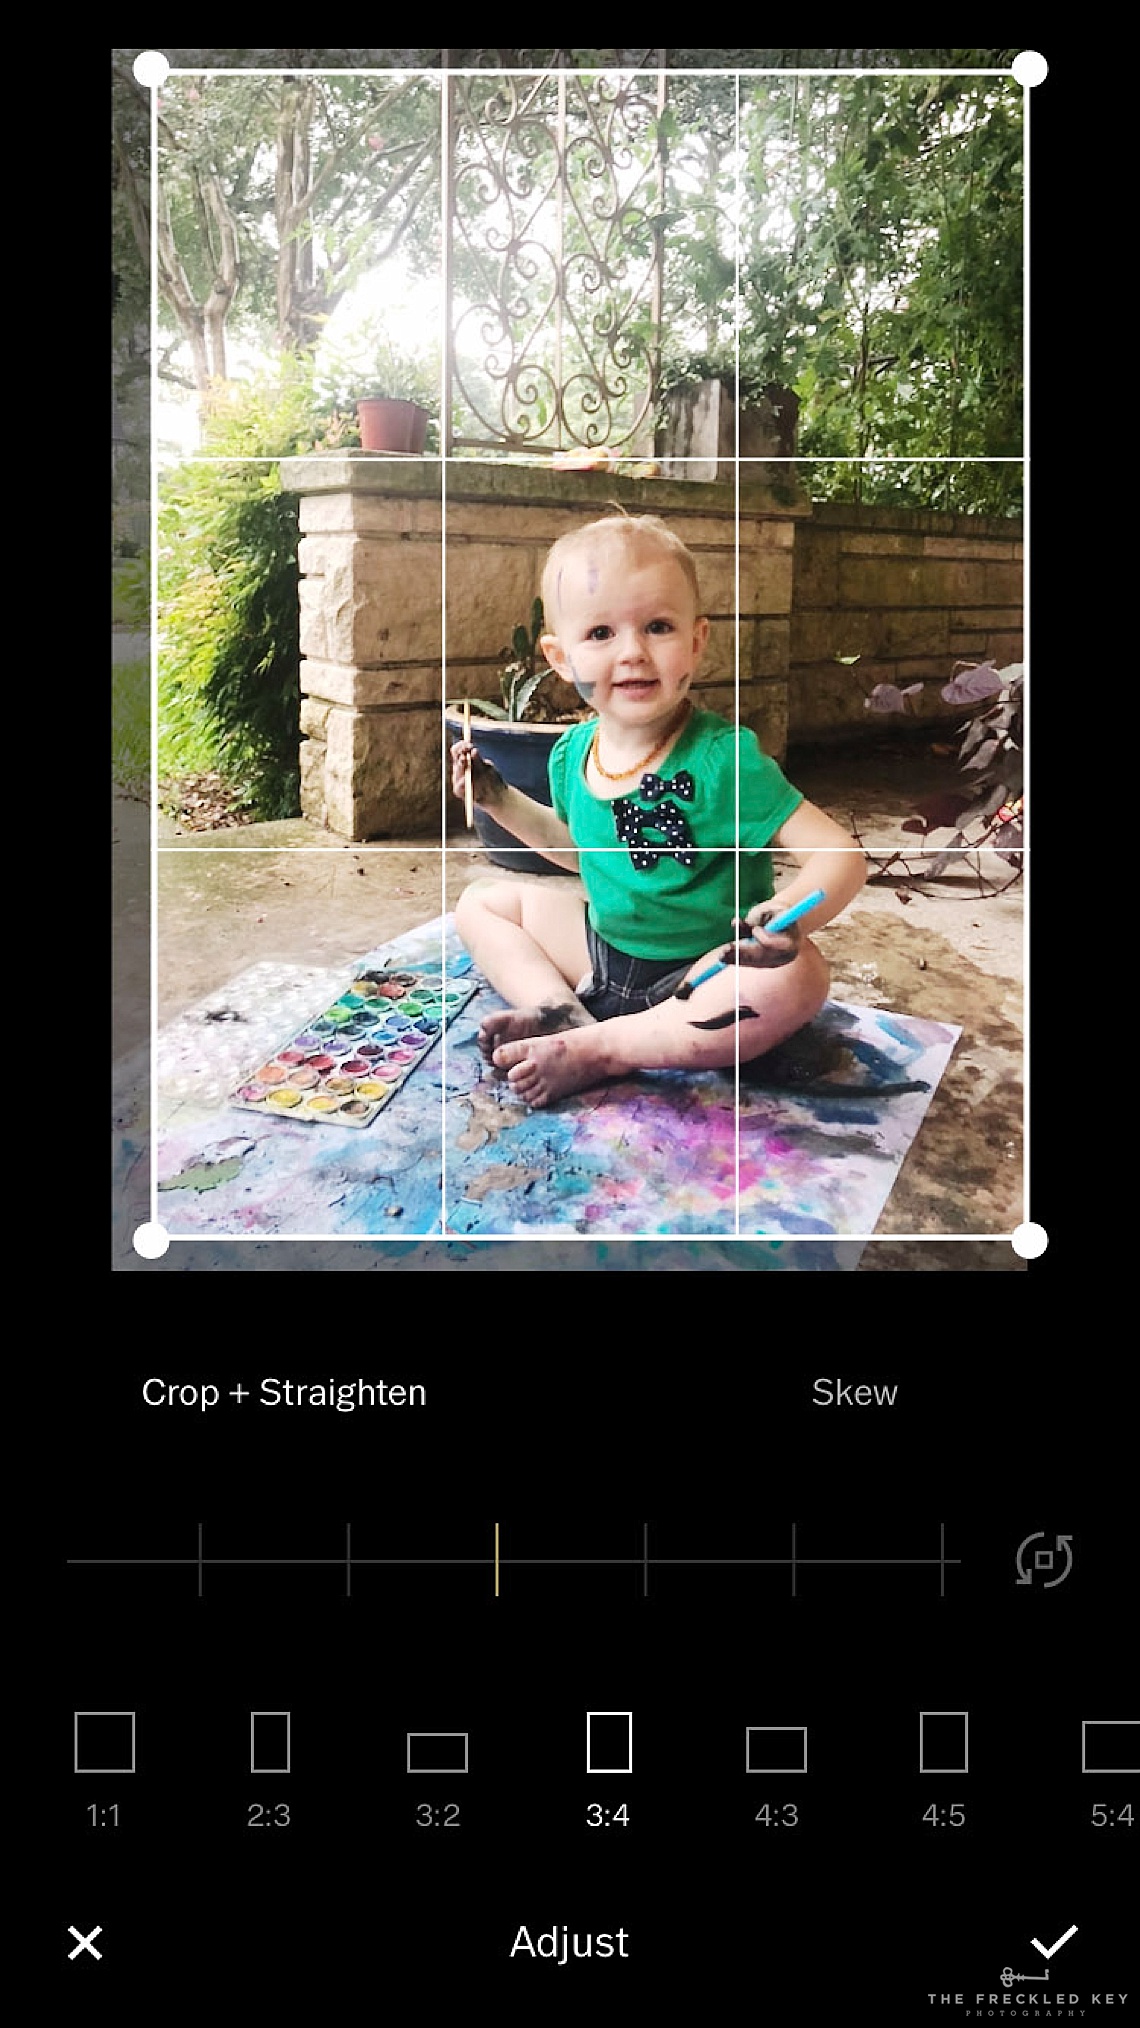
Our eyes subconsciously like for lines to be straight, so straighten your image based on a horizontal or vertical line in the image. Look for an icon depicting a gridded rectangle, or brackets with a diagonal line in editing apps.
Fourth, SHARPEN
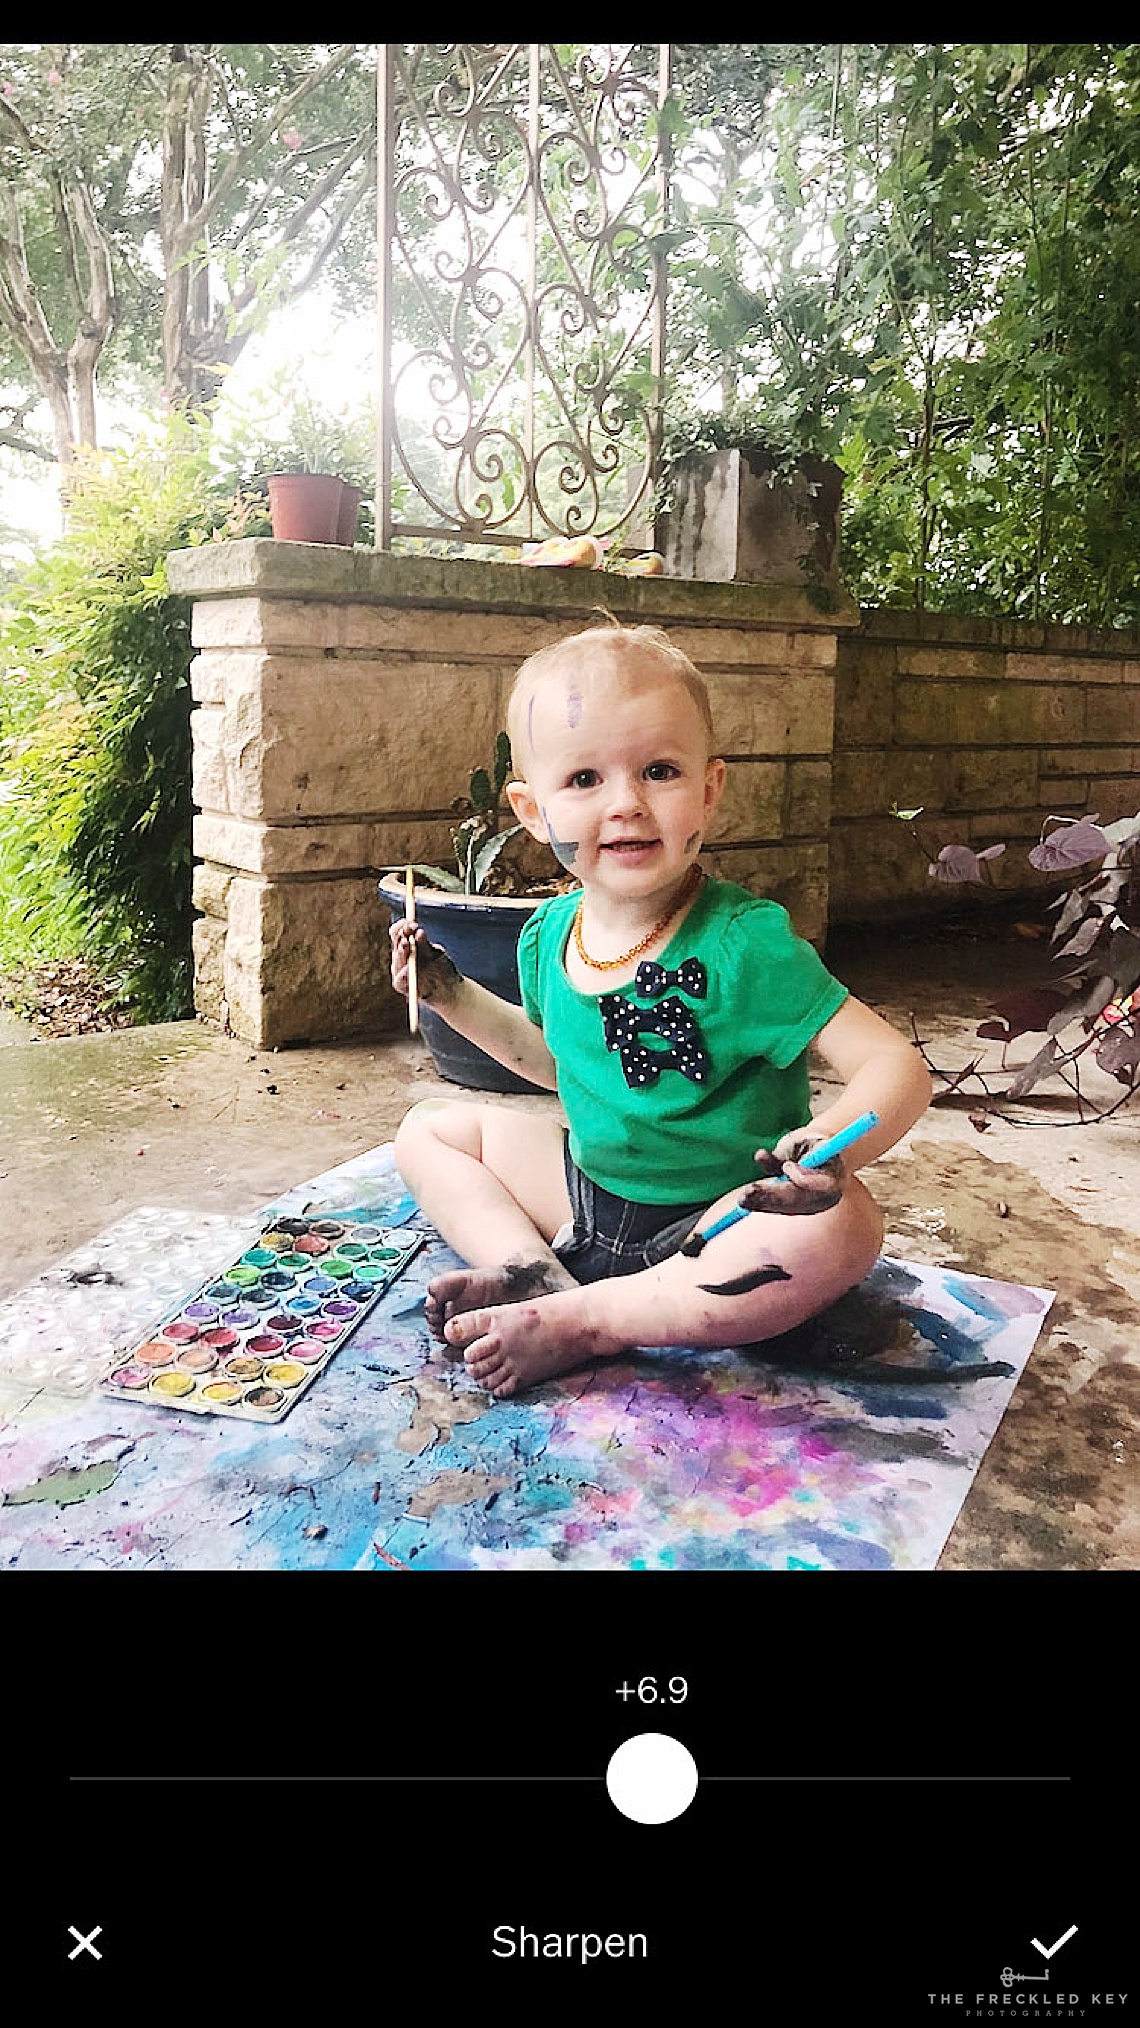
Always, always, always sharpen your phone images! This is typically depicted as a triangle in editing apps.
Fifth, TEMPERATURE & TINT
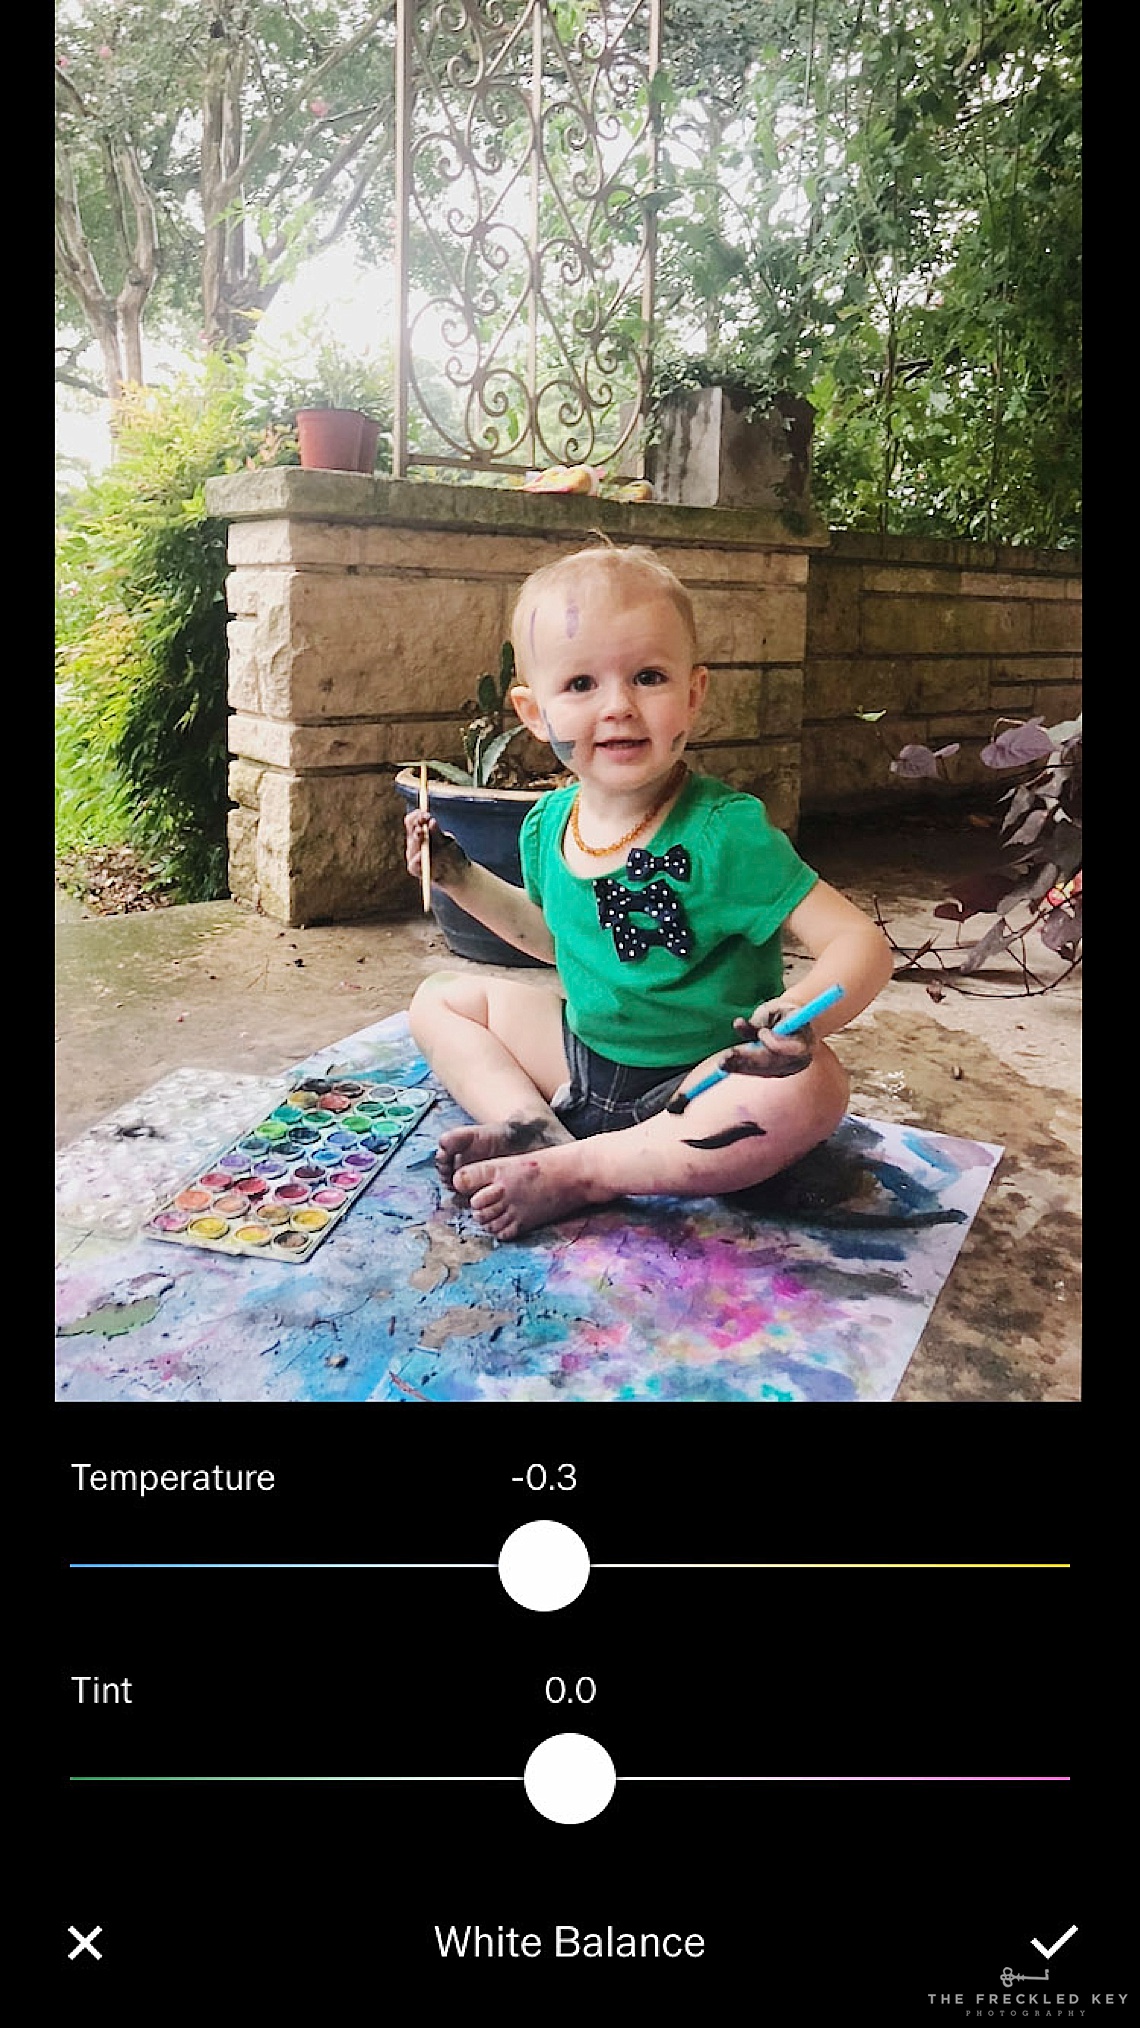
If needed, adjust the temperature and tint of your image until the skin tones look like the color of real skin. Look for the thermometer icon in most editing apps.
Sixth, HIGHLIGHTS & SHADOWS

Take a second to decrease the intensity of the highlight areas of your photo. Phone photos tend to have overly-bright highlights, which does not look well in printed photos. This feature is typically shown as a circle with the letters H/S; you may even find it in the same area as the exposure feature in some apps.
FINAL IMAGE

Ahhhh…. such a difference, yes? And definitely worth the 2 minutes it took to do this edit.
You can watch me edit another photo in real time by watching this video!
For more tips on how to TAKE better photos on your iPhone, first sign up for my newsletter! I frequently share phone photography tips there. And for a deep dive on taking better phone photos, head over to the shop and grab a copy of my guide Capturing the Everyday With the Camera In Your Pocket.

Leave a Reply